Wednesday 23 February 2022

Rosalie Duke-Stanley - Always and Forever


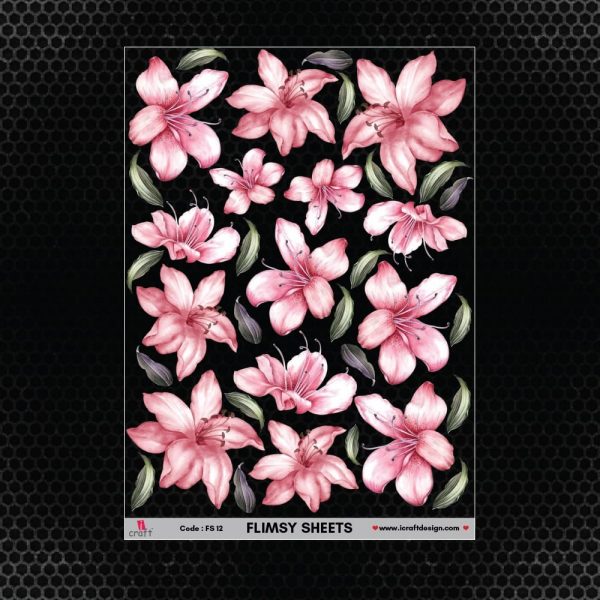
Decoupage Papers - I love the decoupage papers but wanted to try them on my scrapbooking layouts. Would they work as a pattered paper? Yes they do. They make wonderful papers. 

Select a plain piece of cardstock. I choose white so that it supported the lovely colours on the paper. Trim the decoupage paper to fit your cardstock. Put the remaining piece aside. Using Decoupage glue, cover the card stock and lay your paper over the top. you will need to be fairly careful. smooth out so that all of the wrinkles and creases out. If you do end up with a few, don't worry, any mixed media will cover it. 

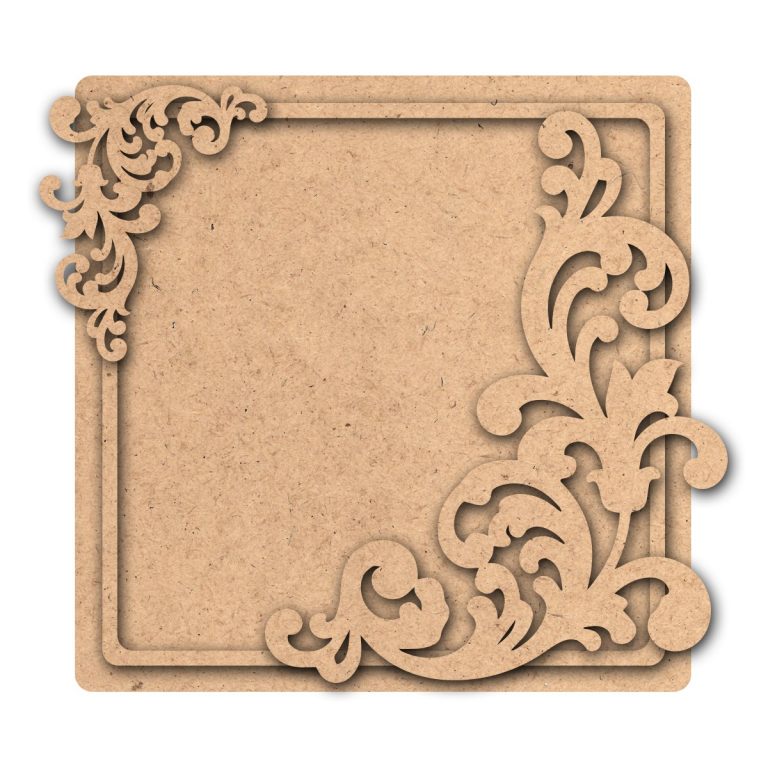
Put a side your layout to dry. Paint your wooden embellishments. I have used Coconut milk, Minnesota Pines and Global waters. Cut out your flimsy sheet flowers. I used about 3/4 of the flowers. Prepare your photo. I have mounted on a piece of card stock and then remount on another piece of card stock which is covered with the remaining piece of decoupage paper 

Do some stenciling on your paper, add some watered down chalk paint to add colour to the stenciled areas. I used selected chalk paint colours that complemented the paper. Once dry start to assemble your layout. Layer the Flimsy flowers and chipboard. Finish off with some Arty Stones and flick some coconut milk paint over. Remember to cover your photo. Add our Word. 

Hope you enjoy the layout and for more iCraft product info please click on the website below and the products. 

https://tinamarie.com.au/shop


Monday 21 February 2022

Beautiful by Michelle van Oudtshoorn

 Hello lovelies,

I had such fun creating this layout. Many of my scrapbooking friends know that I am an avid fussy cutting fanatic and can spend hours fussy cutting and layering these on my layouts. And my fussy cutting was taken to another level when I saw the gorgeous Flimsy sheets from iCraft. These are gorgeous acetate sheets with a range of different patterns. Here is my layout created using these flimsy sheets.

Yes I cut out each and every flower and leaf off the Flimsy sheet. For this layout I have used Flimsy Sheet 03 and Flimsy Sheet 12.
The base of the layout is a page from the paper pack "The Rose World". The paper had a pattern at the top of it, and as I wanted a plainer background to emphasis the acetate flowers, I used a piece of iCraft decoupage paper (black and white stripes), cutting to shape, and tearing across and adhered this to the paper. I was thrilled with the effect! 
I coloured the circular wooden frame and the title "beautiful" with Romantic Pink wax. I adhered some of the decoupage paper behind the circular frame - lined up with the stripes of the paper on the page. I adhered my photo and then added this to the page.

From here I layered the leaves and flowers fussy cut from the Flimsy Sheets. Some were glued down and others were layered with foam tape to create dimension.
These colours are just so vibrant and beautiful. I really enjoyed cutting these out.

These are the products I have used:


Thanks for visiting the blog today!

Till next time,
Michelle

Tuesday 8 February 2022

"Happiness x II" by Tina Ollett

Hello and welcome back. Tina here with you today to share my latest project this time using new releases from iCraft. 
This is titled "Happiness x II".


I have had this photograph in my stash forever. A gorgeous photo of my husbands grandparents back when well, times were very different. We haven't been able to see grandad in quite some time due to covid and the want of keeping him safe. So I thought now was as good a time as any to finally use this photograph. 
 

The new release of iCraft's wooden platters got my mind thinking about how I could use this in a different way to those projects that I have already seen. And the best way I knew how to do this was to do it in a scrapbooking style but off the page. These MDF platters come in two different styles and with flourishes to adorn the project which makes it a great starting point. You can find these platters here below. I have used Wooden Embellishment FB015 for this project. 

I started out by priming my bases and flourishes with two coats of iCraft Artist's Gesso in white.
I added in some layers starting off with torn Decoupage Papers from the Moroccan Tiles collection #3025. These were adhesed using iCraft Decoupage Glue. 


Over the top of the decoupage papers I then added in some more textures using a favourite stencil #8563 with Artist's Texture Shaping Gel. I coloured my base using Apricot Chalk Paint  and Light's Out Chalk Paint


I have also used Gadget Chains and Vintage Numerals Wooden Embellishments. I made a few acetate embellishments from a seagull stamp set and embossing powders. 


I also added in some extra wooden embellishments because let's face it two is just not enough for me! The first is an older piece but a favourite wooden embellishment "Happiness" i003


The other 3 are from a new line which will be released in the coming weeks. 


I further embellished using gorgeous new 49andMarket flowers that I have coloured using chalk paints and some additional art stones, and wood wool with small splatters of chalk paints over the top. I finished off by inking the edges of my project with a little distress ink. 

I hope you enjoyed my project today. Stay tuned for more inspiration from the Design Team. !! 
Thank you for stopping bye. 

Tina 


 Well 

Sunday 6 February 2022

"You're Awesome" By Kerrie Barnes

Hello and welcome back iCrafters.  Today I am sharing a layout created with the beautiful Purple Blossoms Collection by iCraft.  I used iCraft Modeling Paste and layered it over iCraft Stencil #8548, then set it aside to completely dry.   Then I used iCraft Heavy Gesso White to coat iCraft Wooden Embellishment FB002.  


Then, using the same stencil, I layered iCraft Modeling Paste on top of the embellishment, waited for everything to dry, then painted it with iCraft Coconut Milk Chalk Paint.


I then coated iCraft Wooden Embellishment i049 with iCraft Antique Bronze Wax and fussy cut a ton of flowers from the Purple Blossoms Collection Pack.  I found a cute photo of my niece Lilah-Rose, and placed part of the wooden embellishment on top and traced around it.  I then cut the picture out and stuck it down with double sided tape onto the embellishment and sanded any over hanging pieces of photo. 


Then, I layered everything together until I was happy with the result, and glued it all into place.  I used "You're Awesome" from the paper pack and layered it with a piece of cardboard, and glued to to my project.

The Purple Blossoms Paper Pack also included cute little journal cards, so I layered two of them with more fussy cut flowers from the same collection, as well as some little butterflies.


I added iCraft Arty Balls and paint flicks in iCraft Caprice Chalk Paint and Coconut Milk Chalk Paint.  I also added some iCraft Off White String Beads.  Thank you for looking at my project.  I hope it brings you some inspiration.  Until next time, stay safe and well.  Kerrie xx.

All items used can be found at tinamarie.com.au.


iCraft Stencil 8548


iCraft Purple Blossoms Paper Pack


FB002

i049