Thursday 24 June 2021

"Wonderful Adventurer"

"Wonderful Adventurer" by Kerrie Barnes

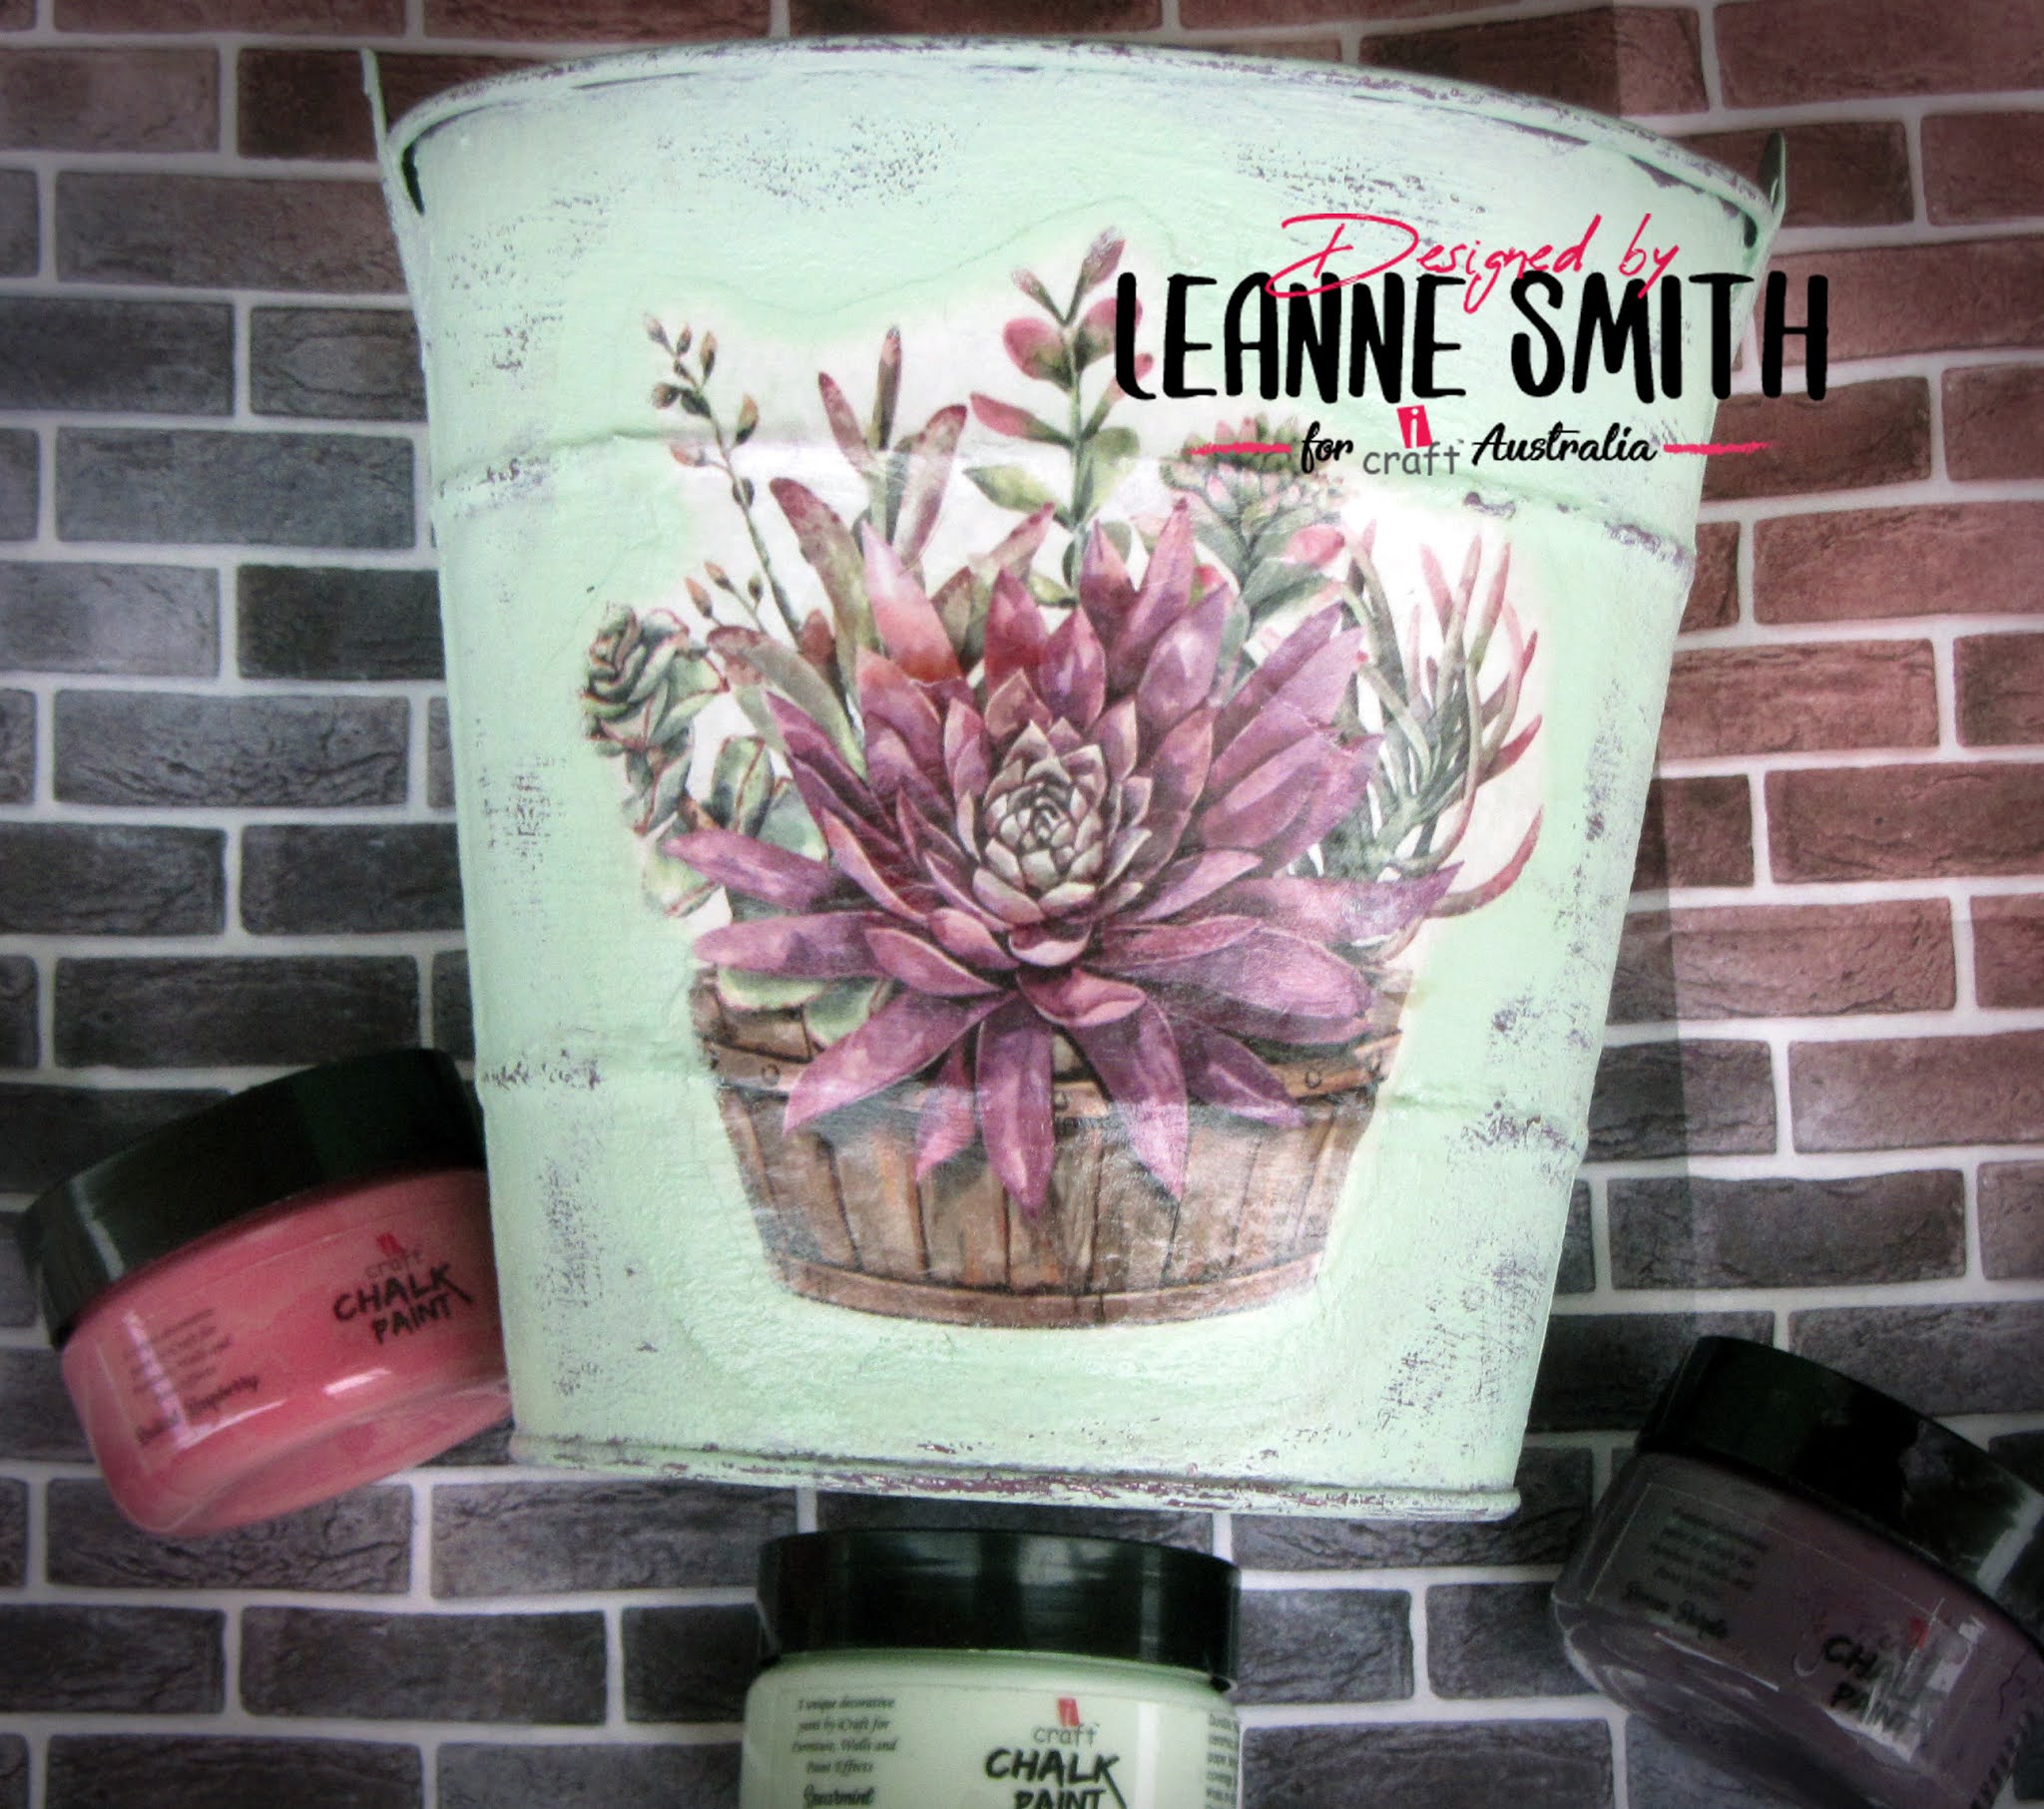
Hello everyone and welcome to my second blog post for iCraft Australia.  Nautical steampunk was the inspiration for this project.  I began by coating almost all of my embellishments and the anchor in iCraft Heavy Gesso Black.  Then I mixed iCraft Modelling Paste with iCraft Arty Balls, and layered it over various areas of the anchor creating a rusty look.


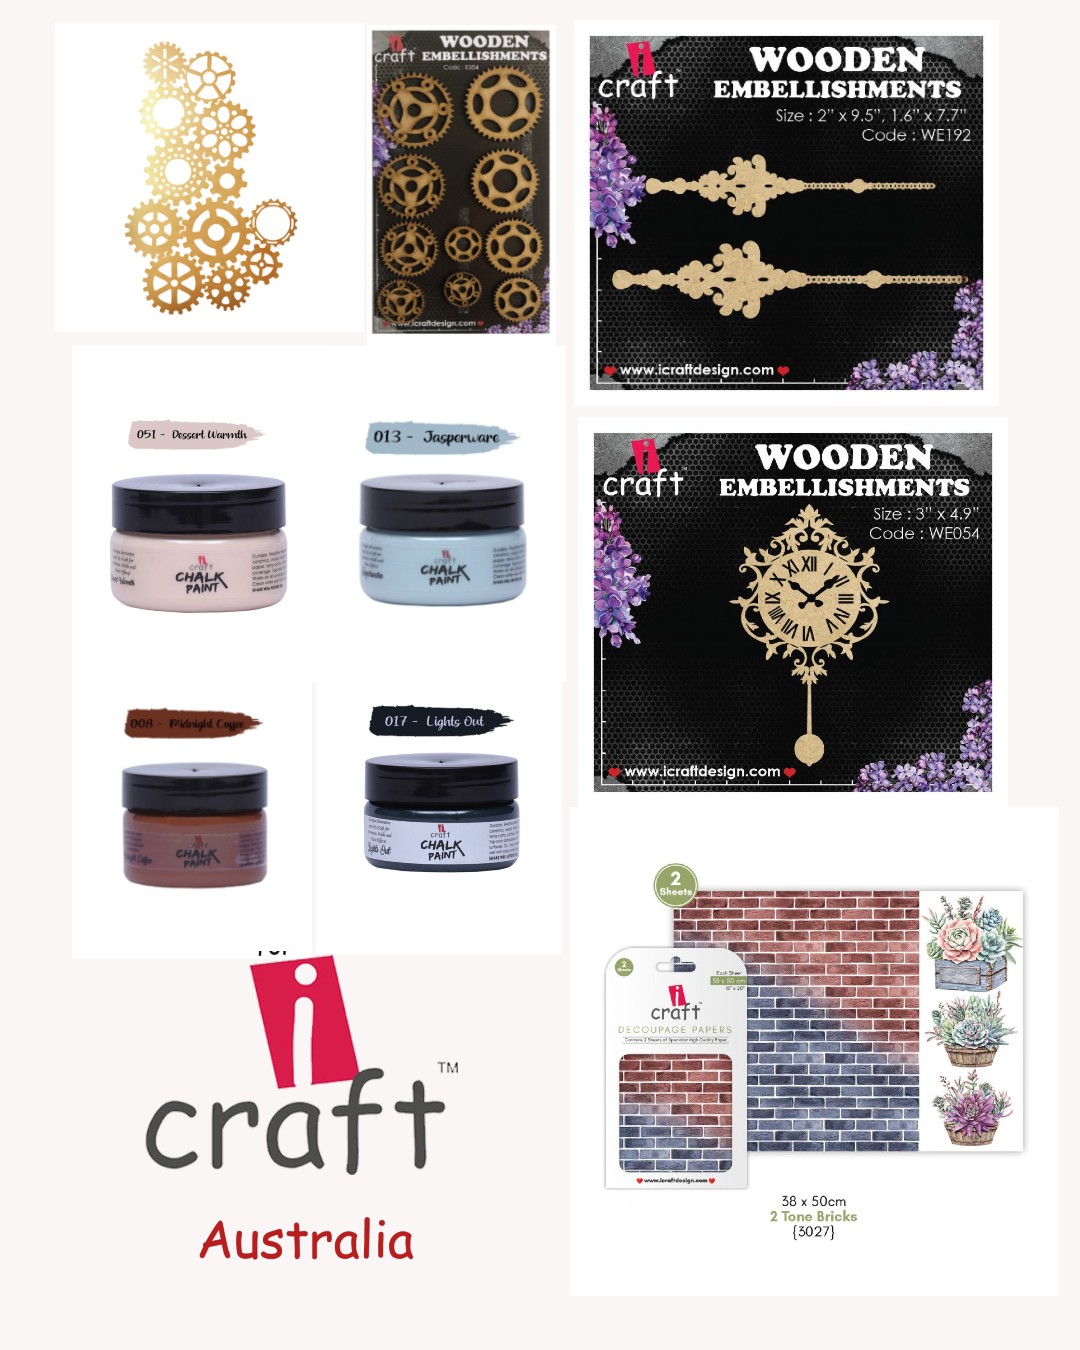
I slowly added my iCraft Wooden Embellishments, creating layers in various areas.  I wound a nautical looking rope through and around the embellishments after coating it with a thick layer of iCraft Heavy Gesso Black.


I chose many beautiful iCraft Chalk Paints and added iCraft Arty Balls to some of them to add extra texture.  I slowly layered my iCraft Chalk Paints until I accomplished the rusty effect I was after.  I highlighted various areas with iCraft Blue Patina Chalk Paint.


I chose four iCraft Mulberry Green Roses, coated them with iCraft Heavy Gesso Black, then repeated the paint process I used on the other iCraft embellishments.


Using iCraft Gliding Glue, I dabbed areas of the project, waited fifteen minutes and applied iCraft Bronze Foil.  I added two shells and two starfish, as well as an iCraft Copper Pearl from the Pearl String.


I found "Wonderful Adventurer" stickers in my craft stash, added thick cardboard to the back and adhered those to the project.


All done.  It was so much fun creating this project using iCraft's gorgeous products.  Below you will find a complete list of all products used.  Thank you for spending a few moments with me.  Until next time, Kerrie.  xx


Products used:

Pearl Strings Copper


I569


I223


I125


I365


I360


I356


WE354

WE0483

iCraft rose mulberry flowers - green


Products available at:


"Altered Bucket" by Leanne Smith

"Altered Bucket" by Leanne Smith

Hi everyone, here is my second project for iCraft Australia. I wanted to create something using the wonderful decoupage papers from iCraft. I decided to alter this little bucket that I have had sitting on my desk for a couple of years now. It has been home to paint brushes and other bits and bobs.


 To start with I applied two coats of iCraft heavy gesso white. To match the colour in the flowers of the decoupage paper, I mixed together roman purple and radical raspberry iCraft chalk paints until I achieved my desired colour. I applied two coats of this colour over the top of the gesso, drying each layer in between. Using the chalk paint spearmint with a paint dabber I next applied one coat of this  over the top. Once it was all dry, I then set about with a cotton pad dipped in water and rubbed areas off exposing the colour underneath. 
Next using the decoupage glue I applied my paper. I dry dabbed with the spearmint paint around the edges of the paper. This was done to help soften the edges and blend in more. To finish off I applied a good coat of decoupage varnish over the paper.


I hope this inspires you to create something wonderful and have a play with decoupage papers.

Until next time, happy scrapping.

Hugs Leanne x


All the products used are listed below.


Roman Purple
Radical Raspberry

Spearmint

Decoupage Papers 3027

Decoupage glue

Decoupage Varnish


Tuesday 22 June 2021

Reaching for the Stars by Rosalie Duke-Stanley


Reaching for the Stars


This was a chance to be creative and I love mixed media. So with lots of new exciting products and some fun, I chose a picture of my granddaughter Amelia reaching up to touch some bubbles. 


To make, paint a mixed media card with the global waters chalk paint. Using the squares stencil , add some white colour randomly to break up the background. Tearing pieces of the decoupage paper (I picked the words) and paste on. Using a embossing pen, draw parts of the circle stencil over the base. Add blue embossing powder and heat.  This adds another layer of texture and colour. 

To finish off, cut out the picture of the little girl from the decoupage paper, paint the wooden embellishment and layer all of the pieces including the string of pearls (I cut of some pieces to glue in behind the photo. I have also added some cotton thread  embossed with copper chunky embossing powder to add another layer. 

Take your time in layering, putting pieces on top, changing and moving around before gluing down. The aim is that it is random and has a grungy look. 

Hints and Tips - Pearl Strings - if you want to change the colour of your Pearl strings, put a small amount of alcohol ink (colours in a similar tone or colour range work best) in a small saucer etc. using tweezers, roll the pearls through the ink until all covered. I have used a caramel colour to change the pearls to a sepia tone for the layout. 

I hope that you have enjoyed my mixed media card. 


Monday 21 June 2021

Flying High Mixed Media Tag by Farrel Tailor

 Hi Everyone, Farrel Tailor here and I am super excited to be sharing my project I created as guest designer for icraft Australia. I just loved using their projects and found it was super easy to create with.


So began with covering my tag using 1 sheet of 2 Tone Bricks Decoupage Paper. Then applied a coat of clear gesso over the top. I then used icraft chalk paint - Dessert Warmth with a spatula and I applied it around the edges of the tag.

Next I had to create my cluster for the tag. I painted all my wooden embellishments using icraft chalk paint - Midnight Coffee. So I used Wooden Embellishment i418 and cut it into 8 pieces which I used at the base of the cluster. I did this so that I could get a few different layers. Next I used Wooden Embellishment Pendants i192 and the used the smaller pendant. Then I adhered Wooden Embellishment i054 on the top of the cluster.


Next I did some dry brushing using icraft chalk paint - Jasperware. I made sure I focused around the edges of the cluster. Now to add some depth..... I used icraft chalk paint - Lights Out and mixed with a little bit of water on my craft mat, then applied around the wooden embellishments. Once dry I then used icraft chalk paint - Midnight Coffee in the same way to create a grungy old effect. I also used this colour to edge my tag.

Next I painted icraft chalk paint - Jasperware onto some white cardstock and then stamped the 2 butterflies from a set in my stash and layered them on top of one another. For the sentiment, I did a same thing but painted icraft chalk paint - Dessert Warmth and then mounted onto some black cardstock. Then to finish it off I added some splattering using icraft chalk paint - Dessert Warmth.

Here are the icraft Australia products I used

I hope you have enjoyed my tutorial and hopefully I have inspired you to create using icraft products. Thank you for dropping by

Farrel xx


Sunday 20 June 2021

"There are so many beautiful reasons to be happy" by Tina Ollett

Hello and a very happy Sunday morning to you. I am here today to share my very first project for iCraft Designs as iCraft Australia. Some of you who are new to my work may not know this but I have been using iCraft for the past 18months. I fell in love with so many of the products that being a distributor was really a no brainer for me. I hope you feel the same way in time. So today I would like to share with you a few of my favourite things from iCraft. 


This project titled "There are so many beautiful reasons to be happy" was taken from the ephemera sheet at the back of the pack of my 12 x 12 pack of Blooms de Fleur. This pack of single sided beautifully designed patterned papers with 210gsm in weight is a fabulous addition to my ever growing stash. 


My starting point was to fussy cut all the pieces I needed from the other design papers within the pack. I then decided on a background and then from another piece did some tearing and distressing and then layering of papers. After all my layers were adhesed to the background I primed it with clear gesso. And over this I used my palette knife to add a layer of clear crackle. This was left over night to create the crackles on its own. Once this was done I wiped over some of the gorgeous iCraft Metallic Chalk Paint Moon White using my finger. 
Omg I loved the whole effect of this paint. It gave my page a beautiful shimmer. 


I then went to work on adding in more dimension using the Wooden Element  i031. These element packs come with a variety of shapes and sizes. I decided on the small base element and covered it with decoupage glue and a selected paper from the pack. I also added a little of the Moon white Metallic paint around the edges.

I then moved on to priming all of my Wooden Embellishments. The wooden embellishments are laser cut MDF's that definitely need to be primed. This ensures that any media you have stays on the embellishment piece. Being wood it doesn't really soak in but needs to have a primer applied to adhere other mediums. iCraft have a wonderful Gesso which is a heavy white and makes a full covereage of the Wooden Embellishments. 


I randomly painted some pieces in the chalk paint colour "Lights Out". This really is one of my new favourite things to use. The colour is just amazing. It may not be evident here but in real life it is an amazing colour to use and co ordinates with this collection brilliantly. 


Once these all dried I added in some of the cut out ephemera pieces like the title piece I used for the Lamp Post. This was adhered from behind the wooden embellishment.  I added in some distressed pieces of muslin also along with some cut pieces of the String Pearls in the colour of Off White.


Well this is all from me today. I hope my layout has bought a little sunshine to your day. 
Until next time happy scrapping. 

Tina x