Monday 26 July 2021

 "Life is Beautiful" by Leanne Smith


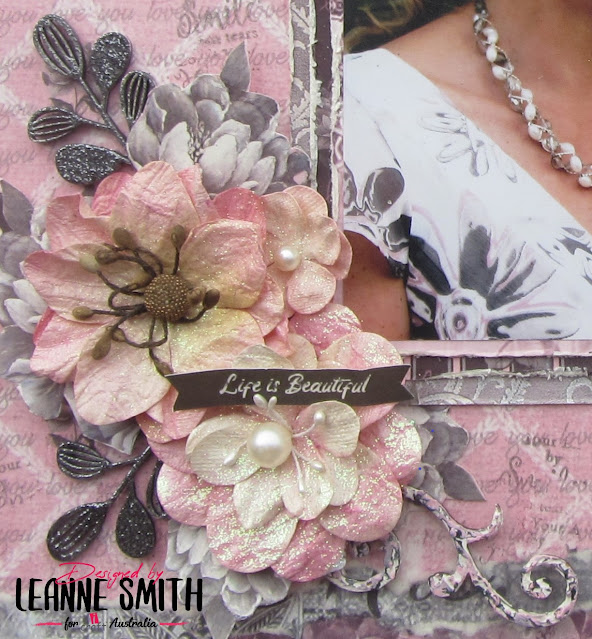
Hi everyone, here is a layout I have created using the wonderful iCraft papers. I have used a photograph taken of myself a few years back at my eldest son's wedding. 


To create my LO I used several pages from the paper collection pack titled, In the Name of Love, and paper from Serene shades paper collection pack. I layered my paper ripping the edges to give a worn effect. I then adhered some lace beading from my stash as the necklace I was wearing was beaded. I also used several different papers from In the name of Love papers to back my photo.


 I fussy cut some flowers from the left over papers that I had torn my strips from and adhered these around the flowers that I had used from my stash. The wooden embellishments that I used in my flower cluster were firstly painted using iCraft heavy white gesso, then embossed with embossing powder glitter noir.

 I applied Artists 3D texture shaping gel with a spatula unevenly on the wooden scroll. I wanted to try and create the colours of my dress. So to achieve this I simply mixed together iCraft  chalk paint in Radical Raspberry and Rose Debut. I applied this with my finger in places on the scroll, using the same technique, I then added  iCraft paint Lights out.  This colour is amazing. I loved how the colours turned out together and matched really well with the colours of the dress I was wearing. I wanted to keep my LO simple, so to finish off I did some stamping using a script stamp with archival ink watering can then added a title from the paper pack Bloom de Fleur.


Hope you enjoy my LO.

Until next time, happy scrapping.

Hugs Leanne x


All the products used are listed below.

wooden embellishment 1562

Wooden embellishment i427

Radical Raspberry

Lights Out


Rose Debut

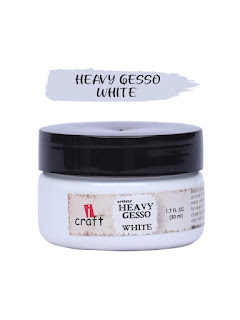
Heavy Gesso White

3D Texture Shaping Gel


Sunday 25 July 2021

"Life is Beautiful" By Kerrie Barnes


"Life is Beautiful"

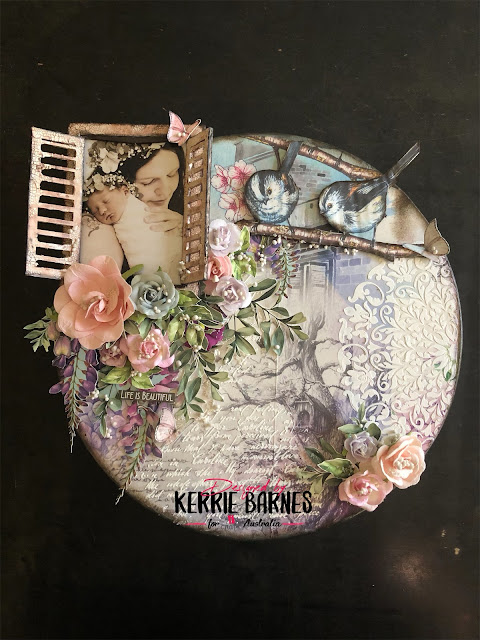
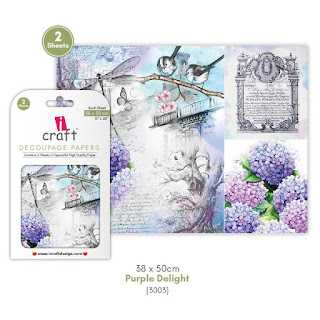
Hello and welcome once again to my little portion of the iCraft Australia Blog.  I used a 30cm round canvas to create this new project, and added many gorgeous iCraft products.  I began by covering my canvas in iCraft Decoupage glue, then carefully added the stunning iCraft decoupage paper that I chose for this piece.  I then used an old credit card to lightly scrape over the surface and remove air bubbles.  This took a little while to dry, so I started fussy cutting elements from the iCraft Purple Blossom Paper Pack.


Once dry, I sanded the edges of the canvas to remove any bits of decoupage paper hanging over the edge of the project, then gave everything a coat of sealer.   Using iCraft Chalk Paints, Jasperware and Thai Teal, I painted around the outside edge of the canvas.  When dry, I used brown ink and a dauber to add a splash of contrasting colour.


I chose two very beautiful iCraft stencils and added iCraft Modelling Paste over these to create a delicate 3D effect.  I coated the iCraft Wooden Window Embellishment in iCraft Heavy Gesso White.  I decided to try the antique look, so I then roughly painted white crackle paste over each section of the window and shutters.  Using iCraft Chalk Paints Stewart House Brown and Antique Photograph, I painted over the window and shutters, then wiped the excess paint off with a baby wipe.  I used brown ink and a dauber to highlight around the edges.


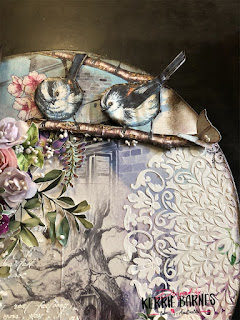
I loved the little birds from the iCraft Decoupage Paper, so I cut them out and adhered them to thick cardboard using iCraft Decoupage glue.  After cutting them out, I glued them just under the window frame on the left hand side of the canvas.  I found a gorgeous photo of my little sister and her youngest daughter Lilah-Rose, and added it to the window.  I really wanted it to look like my sister was carrying her daughter near the window with a garden backdrop.  I layered the fussy cut flowers with iCraft Pink Mulberry Flowers, and other flowers from my stash.  The "Life is Beautiful" sentiment was added last along with some iCraft Arty Balls.


Thank you so much for spending some time with me while you look at my project.  This one was a real pleasure to make.  Very girly with lots of pretty flowers.  Stay safe out there and bye for now.  Kerrie xx

Purple Blossom Pocket Paper 12x12

iCraft Rose Mulberry Flowers Shaded Pink


Wooden Embellishment Window i369

Layering Stencil i8546


Layering Stencil i8548


iCraft Heavy Gesso White


All of these amazing iCraft products can be found at tinamarie.com.au.


Thursday 22 July 2021

Mr & Mrs by Rosalie Duke-Stanley


Hi - Rosalie here with a layout using some of the beautiful iCraft products to create a romantic layout of my sister Christine's wedding. My aim was to create a romantic layout that had elements of fussy cutting, wooden embellishments and mediums. 

I layered strips of torn papers across the base paper to create different layers - curling the edges to add texture. Adhere the photos to the right hand side with foam tape. I use foam tape under my photos when I want to add other embellishments as it makes it easy to slide wooden pieces, fussy cut outs underneath and move them around before stickling down. 

Embellishments - Paint the wooden embellishments with the beautiful chalk paint  'smoky claret' and once dry, add a layer of gold chalk paint to on the edges to give depth. Cut various  flowers and frames out of the complimenting paper. 

Layering- add the painted wooden pieces (I cut a couple up to make more pieces) and once glued on, add your other fussy cut pieces around the photos and layout. To add depth, I stuck some on with foam tape. 

Finishing off - I added some gold chalk paint in behind some of the flowers as well as gluing 'arty stones' around the wooden leaves and in the spaces in the leaves. Once dry, gave a dry brush with gold chalk paint over the arty stones and also on the edges of the frames to enhance. See the photos below to show detail. 

This layout is easy to alter to fit a 6x4 landscape photo or up to 3 - 3x4 photos. 

I hope you have enjoyed my layout and love to hear your comments and good luck with your creations


https://tinamarie.com.au/product/icraft-chalk-paint-smokey-claret-50ml/


Sunday 18 July 2021

Capture The Moment - By Deb Stephens


                                                              Hello iCraft Friends!

Today, I am on the blog to share with you a layout of my  daughter that I love. It was constructed on a round MDF placemat that I hope is now pleased it will get noticed more than if a plate sat on it!


As usual, I used the iCraft heavy white gesso to coat the base and all the Wooden Embellishments. I also used a variety of iCraft Chalk paint (all elements are listed at the end of this post) to paint them up. I used crackle medium on the window frame and shutters after sponging with white gesso and  re-applying paint after it all dried. I love watching it all crack like magic. I used a craft knife to remove the “Support Beam” from  the middle of the frame. I then assembled the frame with the photo in between the layers.


I applied texture paste through the iCraft Layering stencil i0865 in certain spots on the round base, then applied some embossing powder over the top and shook off the excess. I let it dry  for 10 minutes then hit it with a heat gun to set the embossing powder. 

After that I  watered down some Marine Blue chalk paint and used a soft brush and lots of 18 water to spread it around the base then dried it with a heat gun.  I glued down all the painted wooden elements and arranged  the flowers including some iCraft Yellow Shaded Roses around this, with some Silver Pearl string woven through. Gloss was applied to the caption and glued to the frame to finish off. 

I hope you enjoyed my non- traditional layout in this blog 21 post. Looking forward to seeing you all later this month!

Below are the iCraft products that were used in this project: